ImageViewerRails
This project rocks and uses MIT-LICENSE.
View Live Demo
A rails engine to serve imageviewer js files easily and ubiquitiously
ImageViewerRails is simply a wrapper for a javascript library that will load an array of images to your screen and offer controls for manipulating those images. It was designed to be used with forms on pages for quick and efficient data entry. It provides a nav bar that allows for rotation, zooming, and more. Most of the allowable manipulations have corrolary key listeners which we'll cover a little more below.
Once you've run through the installation (see below) you can run something like the following:
<script type="text/javascript">
  $(document).ready(function(){
    $('#ImageViewer').imageViewer(["/assets/test_image_1.jpeg", "/assets/test_image_2.jpeg"]);
  });
</script>
Which will render something like:
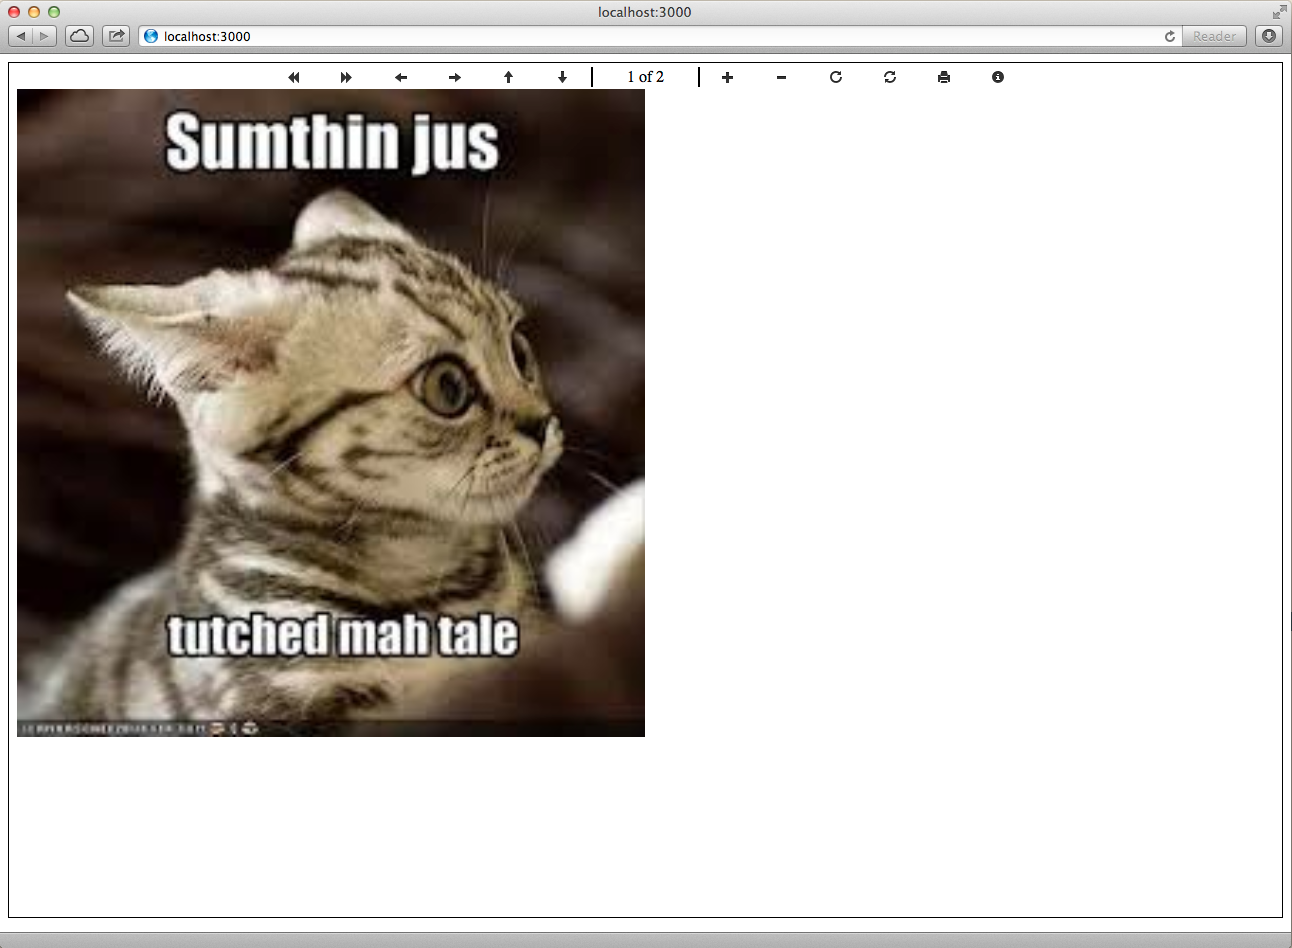
The current image will by default be loaded to fit the width of the image container (which is not shown in the screenshot above). If you'd like to over-ride that default you can pass the option zoomDirection like so:
settings = {zoomDirection: 'height'}
$('#ImageViewer').imageViewer(['/images.png'], settings)
Once you have the image viewer initialized you can start using it. The functions in the nav links area are mapped to the following keys:

Clicking the info link in the nav section will display a modal legend with all of the hotkeys listed.
Installation
Since this mostly just serves up commonly used js files for internal use all you need to do is add the following lines to your Gemfile
gem "image_viewer_rails", "~> 0.1.0"
In your app/assets/javascripts/application.js (manifest file) add the following:
//= require image_viewer_rails
In your app/assets/stylesheets/application.css.scss (manifest file) add the following:
//= require image_viewer_rails
Doing so will tell rails to load the following files
- image_viewer.js
- jquery.rotate.js
- keymaster.js
- keymaster_filter.js
- jquery-rails (if it isn't already loaded)
Contributing
Thanks for your interest in contributing to image_viewer_rails. ImageViewerRails is tested using jasmine and jasminerice. Since it's a rails engine there are some interesting testing patterns that we must use to get everything working as we expect. We have a dummy app that lives inside the spec directory. This enables us to run our tests in the context of an actual rails application. To that end, our tests are located in spec/dummy/spec/javascripts directory. They've been loosely separated by their function so jumping in shouldn't be too hard.
Testing
jasminerice is also a rails engine that mounts to our dummy app at /jasmine. To fire up the test suite run rails s inside the spec/dummy directory and head over to http://localhost:3000/jasmine.
guard-jasmine allows us to leverage phantom.js (headless browser) and create a better environment.
- Install Phantom Js
- Best way on a mac is
brew install phantom
- Best way on a mac is
cd spec/dummy- guard
Tests are written in CoffeeScript
Tips and Tricks
Guard Jasmine provides a rudimentary console logger. Most typical way to use it is to call console.log. But you can also use warn, debug, info and a few others.
If that isn't enough you can boot up a rails s inside the spec/dummy directory and point your browser to the root url at localhost:3000/ and you'll be able to debug the image viewer on the page.
Once you've gotten the testing underway just follow the standard:
- Fork it
- Create your feature branch (git checkout -b my-new-feature)
- Commit your changes (git commit -am 'Added some feature')
- Push to the branch (git push origin my-new-feature)
- Create new Pull Request