Custom Logger 1.0.0
Custom logger allows you to log you're debug infmration to an html file so you can view them in much more easier way. This is my first gem so expect things not to be perfect.
Installation
Add this line to your application's Gemfile:
gem 'customlogger'
And then execute:
$ bundle
Or install it yourself as:
$ gem install customlogger
Usage
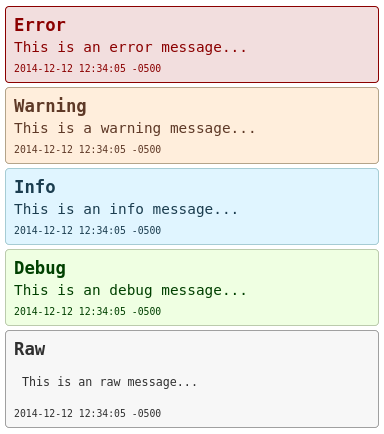
Custom Logger is very easy to use. Just use the module 'CustomLogger' anywhere and log the message in a nice view friendly coloful html page. Take a look at the examples below.
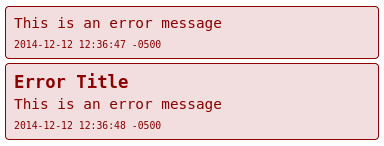
Log error
CustomLogger.error 'This is an error message'
CustomLogger.error = 'This is an error message'
CustomLogger.error 'This is an error message', 'Error Title'
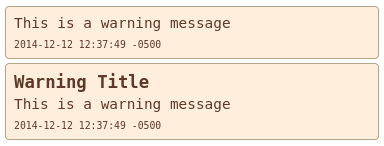
Log warning
CustomLogger.warning 'This is an warning message'
CustomLogger.warning = 'This is an warning message'
CustomLogger.warning 'This is an warning message', 'Warning Title'
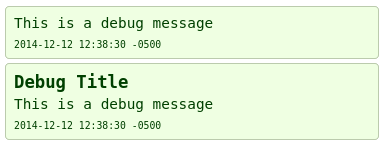
Log debug
CustomLogger.debug 'This is an debug message'
CustomLogger.debug = 'This is an debug message'
CustomLogger.debug 'This is an debug message', 'Debug Title'
Log info
CustomLogger.info 'This is an info message'
CustomLogger.info = 'This is an info message'
CustomLogger.info 'This is an info message', 'Info Title'

Log raw
Keep in mind that raw means that no formatting is applied so if the output is 1000 characters horizontal without any line break then that is what you will see. Basically it is inside of a 'pre' html tag.
CustomLogger.raw 'This is an raw message'
CustomLogger.raw = 'This is an raw message'
CustomLogger.raw 'This is an raw message', 'Raw Title'

Clear All Logs
customlogger.clear
Log File
You will find the log file in:
log/customlogger.html
Running Test On Gem (Not Rails App)
bundle exec rake spec
Contributing
- Fork it ( https://github.com/SaimonL/CustomLogger/fork )
- Create your feature branch (
git checkout -b my-new-feature) - Commit your changes (
git commit -am 'Add some feature') - Push to the branch (
git push origin my-new-feature) - Create a new Pull Request